Rock Band Simulator Jobs & Hustles Tier List
What to grind, what to gamble, and what to refuse when the concert clock is ticking.
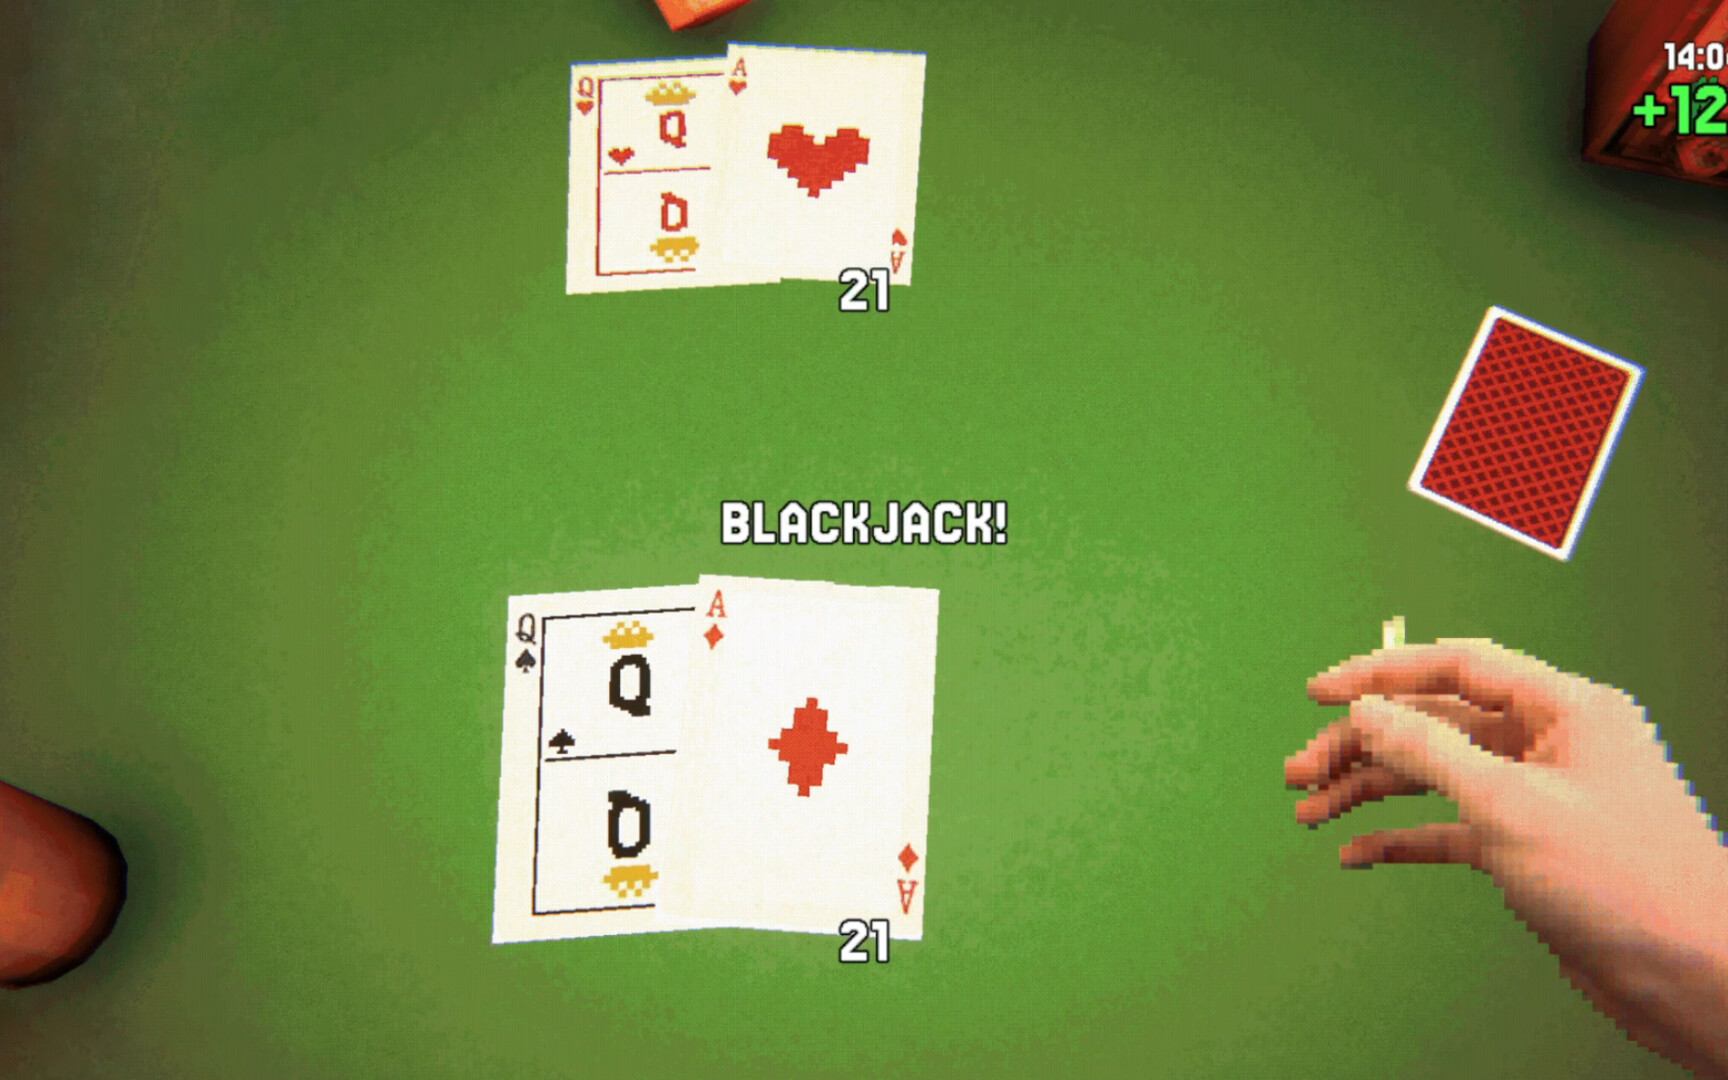
Ashport does not hand you a clean salary. In Rock Band Simulator you fund rehearsals, repairs, and pride with cans, odd jobs, blackjack, and shady work that gets harder to explain the deeper you go. Someone always knows a quicker way to make money. Quicker is not always smarter when the show still starts at 21:00 and you need Evgen and Diman conscious on stage.
This tier list ranks money routes by risk-reward and time-to-gig. It assumes the full seven-day Steam release from KONTRĀST MEDIA / PlayWay S.A., informed by the October 19 demo’s first three days and launch coverage. Pair it with the Gear Tier List so earnings become amp and drum upgrades instead of bar tabs you regret. For a full hustle playbook — odd jobs, cans, blackjack caps, shady timing vs 21:00, and ADR fight costs — see Make Money.
Ranking criteria
- Cash reliability — Can you predict the payout?
- Time cost — Will you be free, geared, and sober enough before 21:00?
- ADR / fight risk — Does the job invite punch-ups, gangsters, or police?
- Bandmate conflict — Does it strand Evgen, wreck Diman, or burn relationships?
- Upside — Does it unlock better quests, reputation, or ending branches later in the week?
S tier prints usable cash with a clock-friendly profile. C tier is how you miss soundcheck with swollen hands and an empty kit.
S tier — default money when the gig matters
Targeted odd jobs with clear objectives
Main-adjacent and neighborhood odd jobs that tell you what to carry, who to meet, and where to stand are S tier when the description is honest. Explore bars, back rooms, and garages; take work that fits the day’s main quest path so travel time double-dips. Finish with a buffer—do not accept a “quick” errand that starts at 20:40.
Why S: predictable payout, teaches Ashport geography, usually lower unexplained risk than back-alley surprises.
Can collecting as structured filler
Collecting cans sounds like a joke until it funds the amp repair that saves tonight’s set. Treat cans as S-tier filler, not a full-day identity. Run efficient loops on your way between objectives. Stop once you can buy the next S-tier gear item or you have enough buffer to attempt a higher-variance hustle.
Why S: low fight risk, flexible timing, perfect for topping up before 21:00 without gambling the afternoon.
Short jobs that also locate bandmates
Any paid task that naturally crosses Evgen’s or Diman’s last known area jumps to S when the lineup is incomplete. Cash plus roster stability beats pure cash. See Bandmates for relationship and consciousness priorities.
A tier — strong with conditions
Blackjack with a bankroll cap
Try your luck at blackjack—you can earn what you need in a streak or convince yourself you are one good hand away. That fantasy is the point of Ashport’s dark humor. For tiering: blackjack is A when you set a stop-loss, keep a can-run backup, and walk away in time to prep the stage. It drops to C the moment you chase losses past your rehearsal window.
Tips: decide the gear purchase first (amp? drums?), play only enough hands to hit that number, leave.
Side jobs with moderate ADR risk
Work that might include an argument, a shove, or a short fight sits in A if you know Controls—E to interact, LMB punch, RMB block, thrown props when needed—and you understand the Adrenaline sweet spot. Hit harder in range; overshoot and you go down. Beer and cigarettes change condition; do not “warm up” into a knockout.
Why A: better pay than cans, still recoverable if you block well and leave with hands intact.
Reputation-positive gigs prep work
Tasks that improve your ability to put on a better concert later—gear transport, flyer-adjacent hustles, favors for venue-adjacent locals—are A tier. They pay twice: cash now, smoother 21:00 later.
B tier — optional spice
Long sightseeing job chains
Dialogue-heavy chains that wander Ashport for flavor are B. They shine when you already funded tonight’s kit and want story, collectibles, or social-media garage clutter. They punish players who start them at 18:00 with a broken amp shopping list still open.
Speculative “easy money” rumors
Locals love implying easy cash. If the pitch is vague, slot it B until you scout the area and confirm escape routes. Upgrade to A only after one clean completion; demote to C after one ambush that costs a show.
Mini-events that pay in items
Random events and odd encounters may pay in posters, parts, or weird inventory instead of clean cash. B tier: valuable for completionists and ending flavor, awkward if you needed liquid money for an amp today.
C tier — high chance to miss 21:00
Deep shady jobs with cameras, gangs, or police
Sneak past cameras, get your hands dirty, leave before questions—cool trailer line, rough Tuesday plan. These routes can print money and story, especially in days 4–7, but they are C tier whenever the clock is tight or your ADR management is shaky. Firearms, blood, and “axe” levels of chaos exist in the mature design space; treat serious crime loops as end-of-day or high-buffer activities only.
All-in gambling spirals
Blackjack without a cap is C. So is staking rent money because Diman “has a feeling.” Variance is not a build.
Fights for pride with no payout plan
Underground fights, bar arguments, and street scraps can be content—or a softlock on your hands. If the only reward is ego and a bruise, it is C relative to funded gear and a played show. You need those hands for the concert.
Jobs that strand the band
Anything that reliably makes Evgen vanish harder or Diman unrecoverable before showtime is C regardless of cash. Multiple endings care how you treat the week; missing lineup is a self-inflicted bad ending rehearsal.
Time-to-gig playbook
- Morning: check main quests and bandmate status (Players Hub).
- Midday: run S-tier odd jobs + cans toward a concrete gear goal (Gear Tier List).
- Afternoon: optional A-tier blackjack or moderate-risk side work if buffer remains.
- Early evening: stop earning; stage gear, manage ADR, gather Evgen and Diman.
- 21:00: play the rhythm set—choose songs, control flow, decide when to end.
- Night: deal with consequences; do not start a C-tier crime spree unless the story demands it and you accept the fallout.
Demo days vs full week
The free demo (Steam app 5173630, live October 19, 2026) teaches days 1–3: empty garage energy, first concerts, starter hustles. The full game unlocks days 4–7 with more quests, side jobs, random events, mini-bosses, and ending branches—see Launch Notes. Late-week shady jobs climb in narrative value; early-week S-tier discipline still wins more runs than greed.
Synergy with ADR and substances
Jobs that push you into combat demand ADR literacy. Sweet-spot aggression pays; overcap drops you. Drinking and smoking are not free buffs—they shift condition for the rest of the day. A B-tier bar job can become a C-tier disaster if you “just one beer” into a police-tier fight and miss the gig.
Related reading
- Make Money — day-plan hustle guide tied to this tier list
- Tier List Hub — gear + jobs overview
- Getting Started — first-hours structure
- Ashport Map — where jobs and bars sit on the loop
- Controls — interact, punch, block, concert inputs
- Links — Steam store, Discord, demo page
Make the money. Make the show. Leave the indefensible jobs for the nights you can afford the story.
Frequently Asked Questions
Quick answers about surviving Ashport and making the 21:00 show.
Are cans really worth it compared to blackjack?
Yes as reliable filler. Cans rarely ruin a run; uncapped blackjack can. Use cans to finish a gear purchase, then gamble only surplus time and cash.
When should I take shady high-risk jobs?
When gear is stable, bandmates are secured, and you still have a wide buffer before 21:00—or when a main quest forces the issue. Otherwise prefer odd jobs and capped blackjack.
What if a job fights break out mid-route?
Block, punch in the ADR sweet spot, use nearby props if needed, and disengage when the payout is already secured. Protect your hands; abort pride duels that threaten the concert.
Do job priorities change after the demo?
Days 4–7 add denser quests and riskier opportunities. The time-to-gig rule does not change: missed shows hurt more than skipped side cash.
Should money or bandmates come first in the afternoon?
If Evgen or Diman is missing or wrecked, roster recovery outranks optional C-tier cash. A paid gig with a full conscious band beats a rich guitarist playing alone in spirit.