Rock Band Simulator Collectibles — Vinyl, Posters & Social Proof
Fill the garage with myth after the amp actually works.
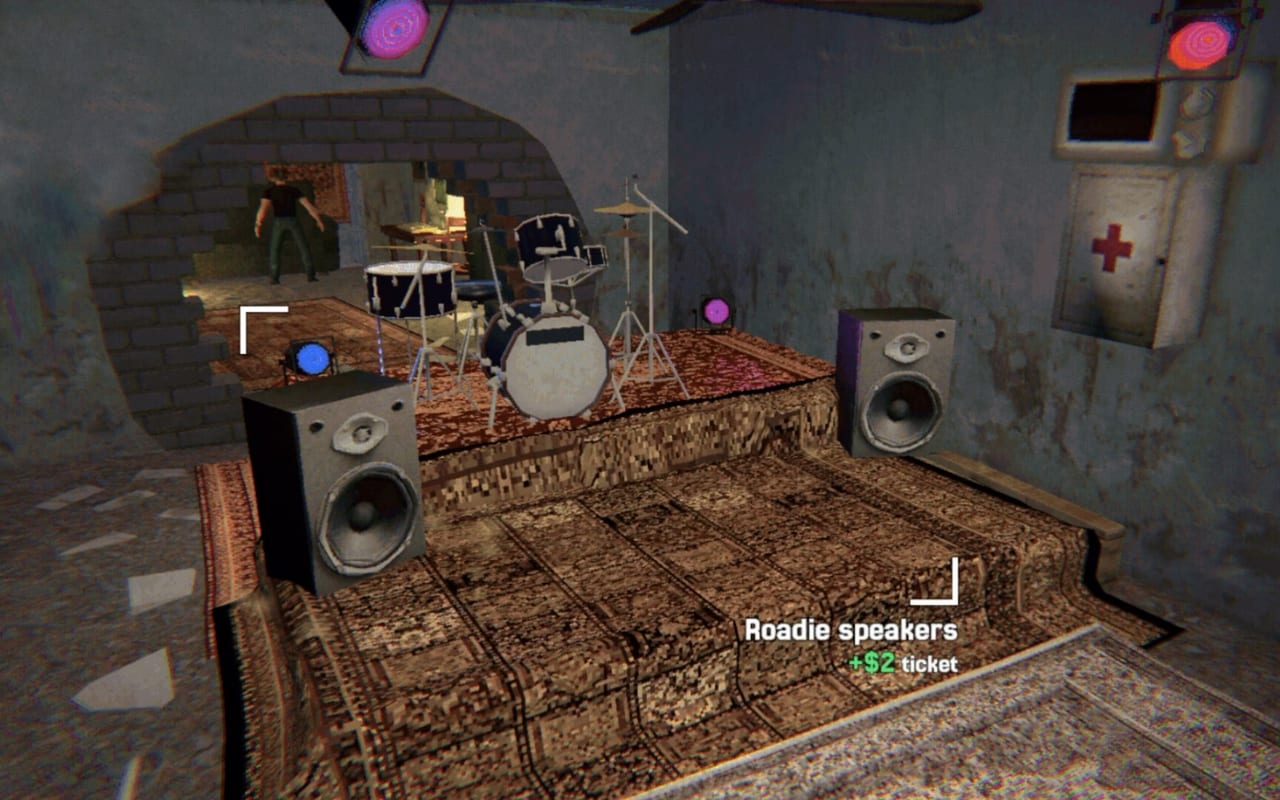
Rock Band Simulator lets you turn a shitty starting garage into a scrapbook of the week. Vinyl, posters, photos, and an in-game social following track how loudly Ashport noticed you. Collectibles are real content — they are just not the same thing as performance gear. This guide explains what to chase, when to chase it, and how to keep flavor from bankrupting tonight’s set.
Spend order still lives on Garage Upgrades. Cash routes sit on Make Money. Stage impact belongs to the Concert Guide and Gear Tier List.
What counts as a collectible here
Vinyl and discs
Physical music clutter for the garage. Vinyl reads as band taste and completion progress. It looks great on a clear shelf and does almost nothing if your amp is still dying mid-song.
Posters
Wall identity. Some arrive through normal exploration; some through questionable Ashport shortcuts. Posters make the space feel like your band cave. They do not replace timing windows on stage.
Photos
Narrative scrapbook pieces — proof you lived the fights, jokes, and nights. Photos are excellent for ending mood and personal storytelling. Treat them as rewards after stable concerts, not as day-one objectives.
In-game social following
A soft progression meter that makes success feel public. Growing the following parallels reputation fantasy: people are watching the week you survive. It is motivation and flavor, not a substitute for Evgen and Diman showing up conscious at 21:00.
Garage flavor versus performance gear
Use this hard split:
| Priority | Examples | When |
|---|---|---|
| 1 — Playable | Amp, instruments, reliability gear | Always first |
| 2 — Mobile | Car upgrades that protect the clock | When travel friction hurts |
| 3 — Personal | Character touches you care about | After kit stability |
| 4 — Iconic | Posters, vinyl, photos, social flex | After strong nights |
Playable → Mobile → Personal → Iconic. That mantra from the garage guide still wins first clears. A beautiful room with a dead show is just a decorated failure.
When to collect during the seven-day week
Days 1–3 (including demo veterans restarting)
Convert cans and odd-job cash into critical gear. Pick up posters or vinyl only if they appear naturally on a route you already needed. Do not invent a crime loop for a wall item before Wednesday’s systems click — Demo vs Full Game.
Days 4–5
Finish performance gaps. Start selective collecting while hustling. Grow social following as a parallel track. Keep cash for relationship errands; sometimes “progression” is paying to be present for a bandmate — Bandmates.
Days 6–7
Emergency repairs plus targeted power for must-win shows. Then complete collections if your concert baseline is safe. Do not bankrupt the buffer on day-seven vanity right before a finale set — Endings Guide.
Where collectibles tend to show up
Ashport hands out flavor through exploration more than a single museum wing:
- Garage — display and purchase hubs for upgrades and clutter
- Bars and back rooms — leads, rewards, questionable acquisitions
- Streets and side routes — opportunistic finds while can-running
- Trailer park / creek corners — exploration beats — Ashport Map
- Post-concert nights — best window for non-essential shopping
If a collectible path requires a fight, price the ADR tax the same way you would for a shady job — ADR Combat.
Funding collectibles without wrecking the run
- Hit the night’s gear goal first
- Keep a small emergency repair buffer
- Use post-concert surplus for posters / vinyl / photos
- Prefer odd-job leftovers over uncapped blackjack for vanity buys
- Skip optional brawls that exist only to fund wallpaper
Blackjack “because the garage deserves it” is how you wake up with neither art nor amp. See Make Money.
Social following without tunnel vision
Treat following growth like reputation’s cousin: it rises when you live a loud, successful week. It should not outrank:
- Finding Evgen and Diman
- Fixing instruments
- Arriving on time for 21:00
- Choices that steer endings
If you are refreshing social fantasy while the drummer is missing, you are collecting the wrong thing.
Collectibles and endings
Collectibles rarely “unlock ending C” by themselves in a checklist sense. They shape mood, garage fantasy, and the feeling that the week belonged to you. Ending quality still leans on relationships, reputation, and key decisions. Use collectibles to celebrate a good branch — not to substitute for one.
Common collectible mistakes
- Buying posters before fixing the amp
- Spending the last repair buffer on vinyl day seven
- Fighting at 20:30 for a photo opportunity
- Ignoring bandmates to farm social following
- Assuming demo garage clutter will import (it will not — fresh save in the full game)
Suggested first-clear policy
One iconic item per strong night after gear is stable. That pace fills the garage across seven days without turning Ashport into a shopping sim. Completionists can mop remaining pieces on a second week once systems feel automatic.
Related reading
- Garage Upgrades — full spend ladder
- Gear Tier List — performance priorities
- Make Money — how to fund flavor safely
- Ashport Map — where to look while exploring
- Guides Hub — systems index
Build a garage that proves you survived the week — but buy the sound that gets you through tonight first. Vinyl looks better when the speakers still work.
Frequently Asked Questions
Quick answers about surviving Ashport and making the 21:00 show.
Should I buy posters early in Rock Band Simulator?
Only after critical performance gear is stable. Posters are garage flavor; amps and instruments keep the 21:00 show alive.
Do vinyl and photos affect concerts directly?
They mainly add collection progress and atmosphere. Concert reliability still comes from gear, set flow, and bandmate readiness.
Is in-game social following important?
It is a motivating soft meter and fantasy layer. Do not chase it ahead of finding Evgen/Diman or fixing broken kit.
When is the best time to collect?
After strong concerts or once midweek gear gaps are closed. Days 6–7 vanity spends need a repair buffer first.
Where do I read the full upgrade order?
See Garage Upgrades for the Playable → Mobile → Personal → Iconic ladder and how collectibles fit at the end.